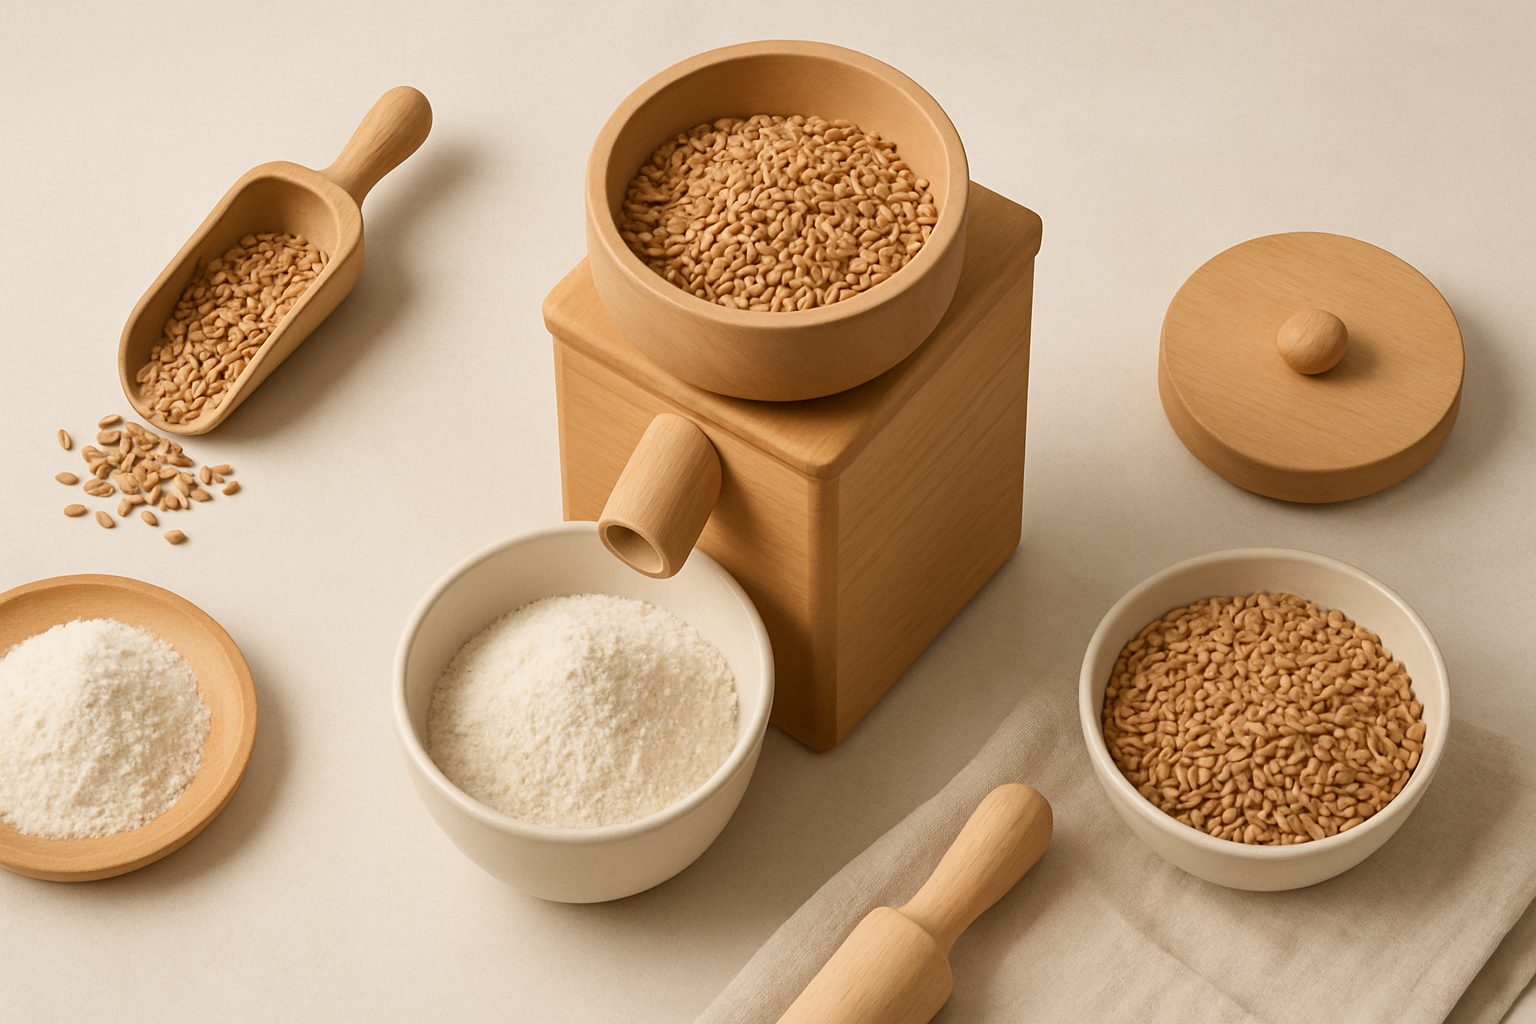
How to Clean and Maintain Your Home Grain Mill UK (Pro Tips)
A home grain mill is a worthwhile investment for bread makers and serious home cooks, but it requires regular care to keep grinding consistently and avoid flour buildup that affects taste and performance. Unlike commercial mills, home models—especially KoMo, Mockmill, and NutriMill—need hands-on maintenance from their owners. Done properly, your mill will last decades. Neglect it, and you'll face grinding delays, burnt flour, and premature burr wear.
Why Regular Maintenance Matters
Your grain mill creates flour by grinding grains between burrs, which generates heat and friction. Starch dust escapes into every crevice, builds up over time, and can become rancid if left to oxidise. This old flour imparts a stale, slightly bitter taste to fresh batches. Beyond flavour, flour dust blocks ventilation in motorised mills, forces motors to work harder, and can interfere with grinding consistency. The most overlooked benefit of regular cleaning is protecting your burrs—the expensive working parts underneath. Grinding slightly damp grain or grain with debris accelerates wear dramatically.
Daily Cleaning After Each Use
The simplest maintenance happens immediately after milling. Most modern home mills come with a small brush, and it's essential.
While the mill is switched off and cool:
- Use the brush to sweep out flour from the hopper and grinding chamber. Don't be halfhearted here; flour settles in corners and under the burrs.
- Wipe the interior walls with a dry cloth or kitchen paper. A slightly damp cloth works too, but let it air-dry fully afterward, especially for models with electrical components.
- For motorised mills, check the ventilation vents on the motor casing and brush away any dust accumulation.
- Empty the flour collection bag or container immediately. Don't leave damp flour sitting in there.
This routine takes two minutes and prevents flour from becoming compacted and difficult to remove later.
Deep Cleaning Your Burrs
Every month, or after milling ten to fifteen kilograms of grain, do a deeper clean. This is where you address flour that's settled between and beneath the burrs.
Some mills are designed with removable stone or steel burr sets. Check your manual—KoMo mills, for instance, have burrs that come out fairly easily on many models. If yours are removable:
- Unplug the mill entirely.
- Gently lift out the upper burr assembly (the rotating one). It sits on a central spindle and lifts straight up on most designs.
- Use a soft brush or old toothbrush to clean the underside of the upper burr and the top of the fixed burr below.
- Inspect both burr surfaces for debris, embedded grain bits, or damage. Fine cracks don't require immediate replacement, but deep gouges mean wear is accelerating.
- Reassemble carefully, ensuring the upper burr sits level. Misalignment causes grinding inconsistency.
For mills where burrs aren't easily removable—some Mockmill models, for example—use the brush to clean as far down as you can reach. A small wooden stick or skewer (not metal) can help dislodge stubborn flour pockets. Never force anything; if you can't reach it safely, move on.
Model-Specific Maintenance
KoMo Mills: KoMo's stone burrs are durable but sensitive to moisture. If you mill whole grains with higher water content, allow extra drying time between uses. The adjustment mechanism (for grinding fineness) can stick slightly if flour dust accumulates there—brush it gently during deep cleans. KoMo's motorised models run warm; ensure the motor casing has good airflow and isn't pressed against walls.
Mockmill Models: Mockmill's compact design means flour can accumulate in tight spots around the motor housing. The brand's quieter motors are efficient but sensitive to overwork. Never feed the mill at a faster rate than it's designed for; this stalls the burrs and generates excess heat. Clean the air intake vents on top with care, as they're small.
NutriMill: NutriMill mills are heavy-duty and forgiving, but they do produce more heat than lighter models. After milling, let the mill cool for five to ten minutes before cleaning to avoid condensation forming on interior metal parts. Their cyclone collection system works well, but flour escapes occasionally—check under and around the mill base weekly.
Burr Replacement and Lifespan
Stone and steel burrs wear at different rates. Stone burrs are gentler on grains and impart less heat but wear steadily over three to five years of regular use (milling weekly or more). Steel burrs last longer—often seven to ten years—but run hotter.
You'll notice wear when:
- Grinding becomes noticeably slower.
- The mill produces unusually hot flour.
- Flour consistency becomes uneven, with some larger particles escaping.
Rather than waiting for complete failure, replace burrs proactively. Suppliers usually stock replacement sets for KoMo, Mockmill, and NutriMill at £40–£100 depending on the model. Fitting them is straightforward for most designs and requires only removing a few screws.
Storage and Humidity Control
Your mill should live in a dry spot, away from direct sunlight. High humidity weakens grain and can introduce moisture to burr surfaces, promoting rust on steel burrs (less common on stone) and potentially encouraging mould growth if the mill sits unused for weeks. Keep the hopper covered with a cloth or lid to prevent dust and insects from settling in. If you stop using your mill for several months, run it briefly every month with a little dried grain to keep the burrs from sticking.
Common Maintenance Mistakes to Avoid
Don't wash interior parts with water unless absolutely necessary. Moisture and electrics don't mix, and stone can absorb water, causing weight shifts and grinding inconsistency. Don't store grain in the hopper; starch oxidises and insects can colonise it. Don't force the burr adjustment—if it's stuck, clean around it rather than cranking the dial. Don't ignore unusual smells; burnt flour or hot motor smell means something's wrong and the mill needs rest.
Simple, consistent care keeps your mill performing reliably for years. Spend five minutes after each use cleaning, and you'll avoid the time-consuming deep fixes later.
More options
- KoMo Electric Grain Mills (Amazon UK)
- Mockmill Stone Grain Mills (Amazon UK)
- NutriMill Harvest Grain Mill (Amazon UK)
- Manual Hand Grain Mills (Amazon UK)
- Wheat Berries & Milling Grains (Amazon UK)