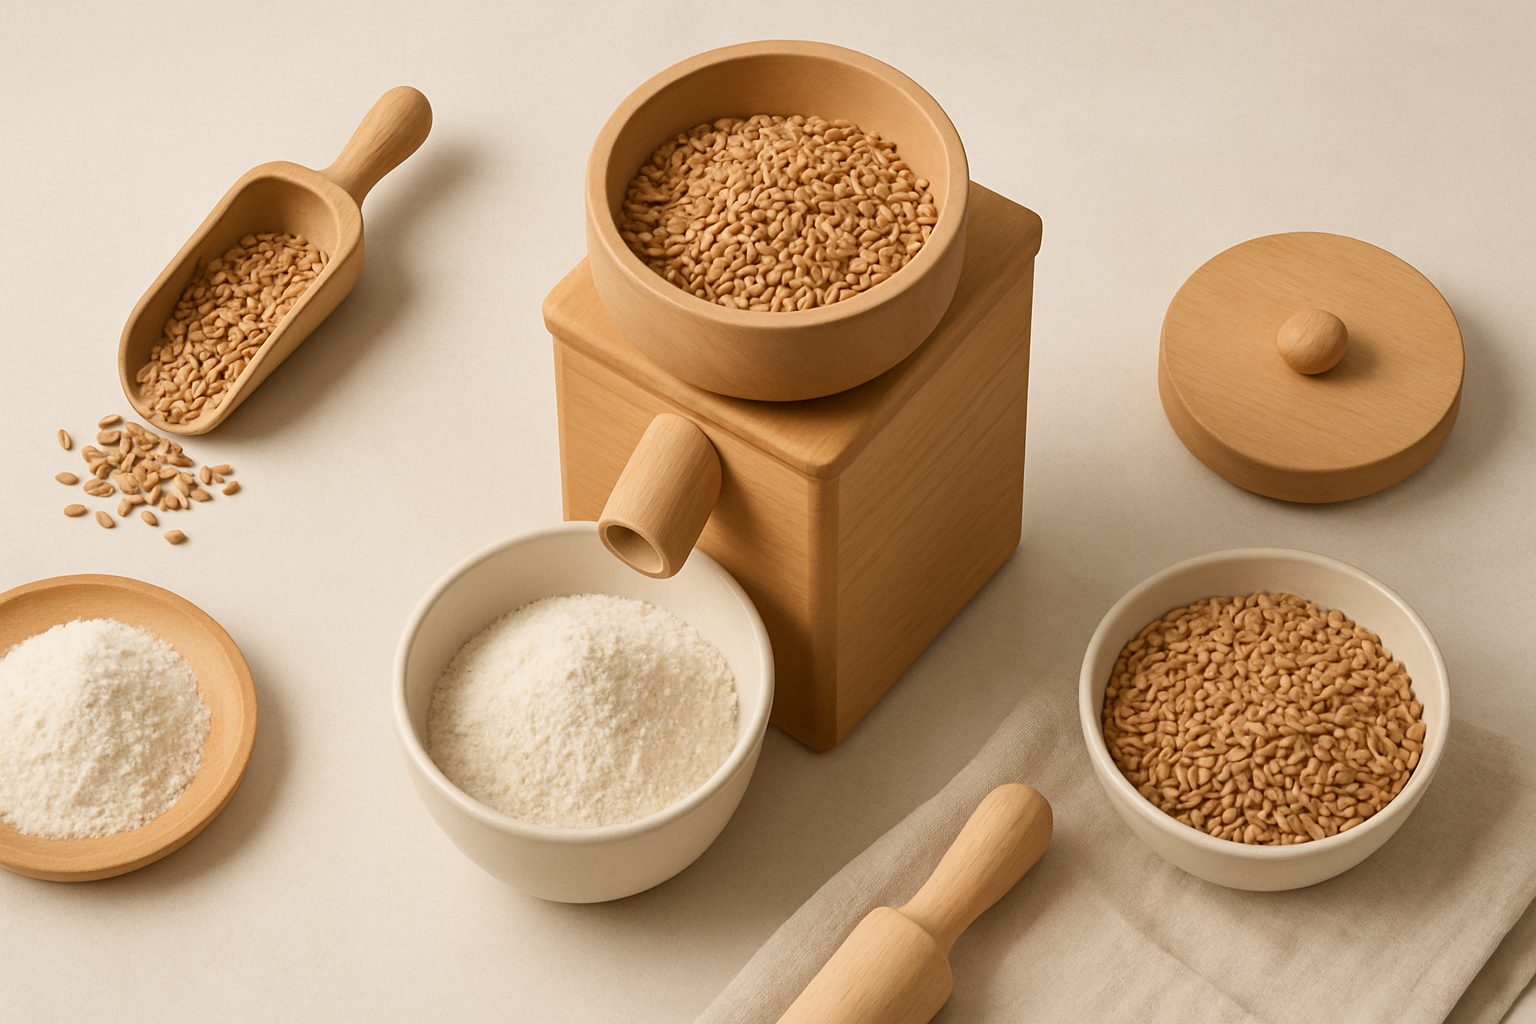
How to Mill Your Own Flour at Home UK: Complete Beginner's Guide
Milling your own flour is simpler than most people assume. You don't need industrial equipment or specialist training—just whole grains, a suitable mill, and a clear understanding of what happens between grain and flour. This guide walks you through the essentials for UK home bakers.
Why Mill Your Own Flour?
The main appeal is freshness. Whole grains stay stable for months or years in cool, dry storage. Once ground into flour, oxidation begins immediately, and valuable oils and nutrients degrade within weeks. Home-milled flour contains everything the grain originally had: the bran, germ, and endosperm. Commercial white flour has most of the bran and germ removed to extend shelf life and improve dough handling—not because it's better for you.
Home milling also gives you direct control. You can mill to precise coarseness, blend grains intentionally, and choose exactly what variety you're working with. For breadmakers and serious bakers, this means fewer variables controlled by distant suppliers.
The downsides matter. Home mills are slower than commercial production. Expect to mill 1–2 kg of flour in 15–30 minutes depending on your equipment. Flour from home mills can behave differently in recipes—whole grain flour absorbs more water and often needs recipe adjustments. And there's a real cost: decent home mills start around £150 and go well above £1,000.
Understanding the Basic Process
Milling grain is mechanically straightforward: stones or burrs rotate against stationary stones or burrs, crushing and shearing the grain into smaller particles. The grain falls between the surfaces, gets ground progressively finer, and drops out the bottom as flour.
Temperature matters more than beginners expect. Friction heats the grain during milling. High heat damages gluten structure and causes flour to absorb water unevenly. Quality mills have cooling mechanisms—gaps that allow air circulation or even active water cooling. If you're using a fast mill without cooling, run it in short bursts and let the flour rest between sessions.
Fineness is adjustable on most mills. Coarser settings produce flour-like meals—useful for polenta or coarse wholemeal. Fine settings take longer but yield smooth flour. For bread, aim for medium fineness—finer than cornmeal but not powder.
Grain Selection and Preparation
In the UK, wheat is the standard grain for home milling. Spelt, rye, and barley are available through specialist suppliers. Avoid soft wheat varieties (like the type grown for biscuits) if you want strong bread flour—hard wheat or heritage varieties like Reeves Spring work better.
Grains must be clean before milling. Any stones, grit, or debris will damage your mill or end up in your flour. Most grain suppliers deliver reasonably clean stock, but spread yours on a tray, pick out obvious debris by hand, and sieve if you're thorough.
Moisture content affects milling significantly. Too dry, and grain produces dusty flour that's hard to hydrate in recipes. Too wet, and it clogs the mill. Aim for around 10–12% moisture—a good supplier will have dried grain to this range. If you're storing grain long-term, slightly drier (8–10%) is safer to prevent mould.
Choosing Your Equipment
Hand mills suit small batches and occasional use. They're affordable, need no electricity, and give you direct feel for the process. Expect 30 minutes for 500 g of flour. Models like the Osttiroler or comparable designs from specialist UK suppliers work reliably but require real effort.
Electric stone mills are the reliable middle ground. They grind steadily, with adjustable coarseness, usually producing good flour in 20 minutes per kilogram. These cost £300–£800 and suit regular home bakers. Many mills also have attachment mills that fit onto stands or fit beneath other equipment—worth checking compatibility if you're building a baking setup.
Burr mills (with rotating metal discs instead of stones) are faster and produce more consistent particle size. They're often cheaper than stone mills but generate more heat and sometimes less traditional flavour profiles. Opinions on taste vary; some bakers find no real difference.
For a beginner deciding between hand and electric, consider how often you'll mill. More than twice monthly, get electric. Occasional experimental baking, hand mill is fine.
Your First Mill
Start with small quantities—250–500 g of grain at a time. Keep notes on fineness setting, milling time, flour texture, and how it performs in your usual bread or cake recipes. Home-milled whole grain flour absorbs more water than commercial flour; recipes often need 5–10% more water.
Let freshly milled flour rest for a few days before use if possible. This allows the flour to fully hydrate and stabilise. It sounds like pseudoscience, but there's genuine chemistry in how flour develops strength over hours after milling.
Keep your milled flour cool and airtight. Without the protective bran and germ, refined white flour keeps months. Whole grain flour stays fresher in the fridge (2–3 months) and freezer (6+ months).
Moving Forward
Once you've established a rhythm, consider what comes next. Some home millers blend grains—rye with wheat, spelt with wholemeal—to develop signature flour blends. Others focus on heritage grain varieties that aren't available commercially milled. The skills are simple enough that the real learning happens through experimenting with your own recipes.
For product recommendations and more detailed comparisons of available mills, see our roundup of home grain mills and our guide to electric mills, which covers performance and features in detail.
More options
- KoMo Electric Grain Mills (Amazon UK)
- Mockmill Stone Grain Mills (Amazon UK)
- NutriMill Harvest Grain Mill (Amazon UK)
- Manual Hand Grain Mills (Amazon UK)
- Wheat Berries & Milling Grains (Amazon UK)